- Published on
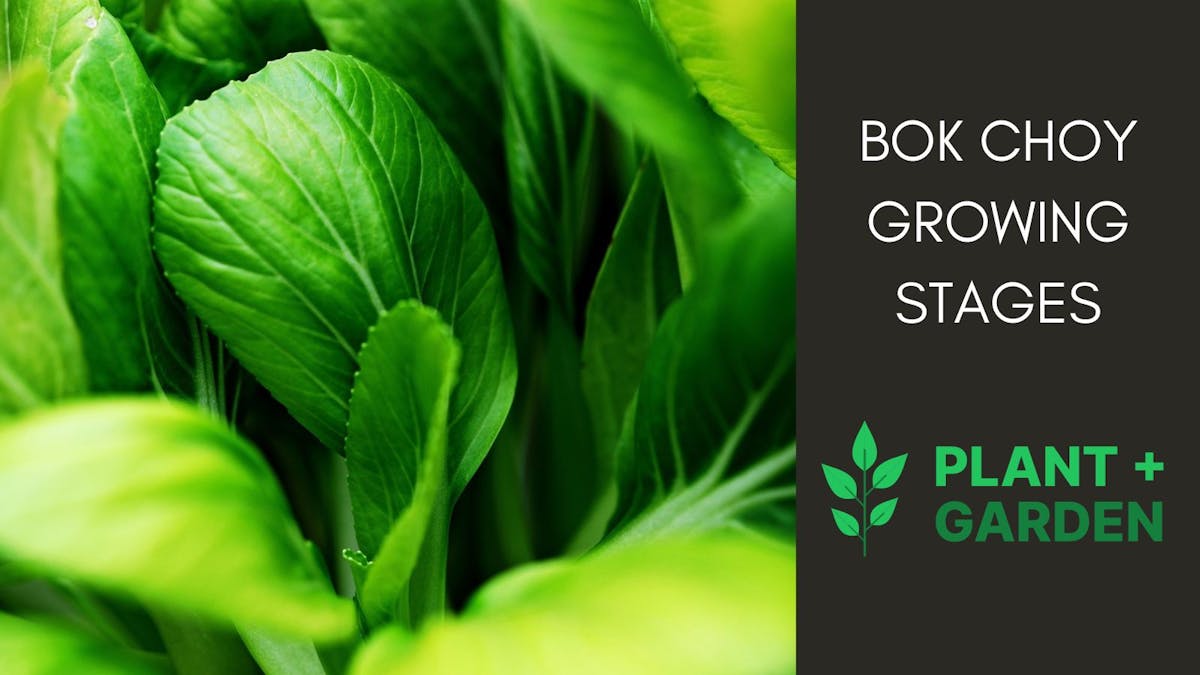
Bok Choy (Pak Choi) Growing Stages Explained: Maximize Your Growth

- Authors
- Name
- Plant And Garden Secrets


Welcome, green thumbs and gardening enthusiasts, to our comprehensive guide on bok choy growth stages. Whether you're new to gardening or a seasoned horticulturist, you've likely heard of bok choy. This leafy green, also known as bok choy, is a staple in Asian cuisine and a favorite among gardeners worldwide for its fast growth and robust flavor. But to truly maximize your bok choy harvest, understanding the stages of its growth is crucial.
In this guide, we will delve into the fascinating journey of bok choy, from tiny seed to bountiful harvest. We will explain each stage in detail, offering tips and insights to help you yield a productive and healthy crop. By getting to grips with the life cycle of bok choy, you'll be able to anticipate its needs, prevent potential issues, and ultimately, grow a plant that is not only plentiful but also packed with nutritional goodness. (If you missed it, you can check out our guide to the lifecycle of tomato plants.)
So, whether you're eager to start a new gardening project, or simply want to learn how to optimize your existing bok choy plants, this guide is for you. Let's embark on this journey of understanding the bok choy growing stages, and see how you can maximize your growth for a plentiful and rewarding harvest.
- Understanding Bok Choy: An Overview
- Bok Choy (Pak Choi) Growing Requirements
- Exploring Bok Choy (Pak Choi) Growing Stages
- Seed Germination
- Seedling Stage
- Growth Stage
- Maturing Stage
- Maximizing Your Bok Choy Growth
- Cooking and Storing Your Harvest
- Conclusion
Understanding Bok Choy: An Overview
Bok choy, also known as pak choi, is a type of Chinese cabbage that does not form a head like its western counterpart. It belongs to the Brassica family and is a cool-season crop, favored for its quick maturation and rich nutritional profile.
The plant features smooth, dark green leaf blades forming a cluster akin to mustard or celery. Unlike most other Brassica vegetables, bok choy has a mild flavor that is sweet, tangy, and refreshing, making it a versatile ingredient in the kitchen.
Now let's look at its nutritional profile. Bok choy is packed with vitamins A, C, and K, and is a good source of dietary fiber. Additionally, it boasts important minerals like calcium, iron, magnesium, phosphorus, and potassium. It's no wonder then that bok choy is often hailed as a 'superfood'.
Interestingly, the name 'bok choy' translates to 'white vegetable' in Cantonese. Despite its Asian origins, bok choy is now grown and enjoyed globally, thanks to its adaptability to a variety of climates and its resilience against common pests and diseases. With the right knowledge and tools in hand, anyone can cultivate a thriving bok choy garden.
In the following sections, we will guide you through the various stages of growing bok choy, starting from seed germination all the way through to maturing and harvest.
Bok Choy Growing Requirements
Before delving into the bok choy growing stages, let's first look at the basic growing requirements of this hardy vegetable. By creating the right environment for your bok choy, you set the foundation for a successful growing journey.
1. Soil
Bok choy thrives in fertile, well-draining soil with a neutral to slightly acidic pH, typically between 6.0 and 7.5. You can use a soil pH testing kit to determine your garden soil's acidity or alkalinity and amend it as needed. Adding organic matter like compost or well-rotted manure can improve soil fertility and drainage.
2. Sunlight
This plant prefers full sun to partial shade. Around 3-5 hours of direct sunlight each day is ideal for healthy growth. In hotter climates, providing some afternoon shade can help protect the plant from wilting or bolting.
3. Temperature
As a cool-season crop, bok choy can tolerate frost but not extreme heat. The ideal growing temperatures range between 45°F to 75°F (7°C to 24°C). In climates where the summer heat comes on quickly, it's best to grow bok choy in spring or fall to avoid the plant bolting before it's fully matured.
4. Watering
Regular watering is crucial as bok choy has shallow roots. Keep the soil consistently moist but not waterlogged. A layer of organic mulch around the base of the plant can help retain soil moisture and suppress weeds.
5. Seed Variety
There are several varieties of bok choy available, differing in size, color, and maturation time. Choose a variety that suits your local climate and personal preferences.
In the next section, we'll dive into the bok choy growing stages and provide helpful tips to maximize each stage for a fruitful harvest.
Exploring Bok Choy Growing Stages
The journey of bok choy, from a humble seed to a mature plant ready for harvest, unfolds over several distinct stages. Each stage has its own set of requirements and potential challenges. By understanding these stages, you can ensure the health and productivity of your bok choy plants. Let's go through each stage in detail.
1. Seed Germination
This is where it all begins. Bok choy seeds are sown directly into the soil or started indoors if you want to get a head start on the growing season. The seeds should be sown about 1/4 to 1/2 inch deep and will typically germinate within 4-7 days, depending on the soil temperature.
2. Seedling Stage
After the seeds have germinated, they will start to develop their first true leaves. This is the seedling stage. It is crucial to ensure the seedlings receive enough light and water during this stage. Thinning the seedlings is also necessary to allow room for growth.
3. Transplantation Stage
Transplanting is a critical stage in the life cycle of most plants, including Bok Choy. This process involves moving the young plant from its initial growing medium to its permanent location where it can grow and mature. Timing is critical in this process to ensure the plant's survival and healthy growth.
Just as in our guide about 'When to Transplant Cucumber Seedlings', the ideal time to transplant Bok Choy seedlings is when they've developed a sturdy root system and at least two sets of true leaves. The procedure should be done with care to avoid damaging the young plant's roots and leaves.
Make sure to harden off the Bok Choy seedlings before transplanting to prepare them for the harsher outdoor conditions. Start by placing the seedlings outside for a few hours a day and gradually increase the duration over a week. This will help the plant adjust to the new environment and improve its survival rate post-transplant.
4. Growth Stage
Once the seedlings have developed a set of true leaves, they enter the growth stage. During this stage, the plants focus on developing their leafy greens. It's crucial to maintain consistent watering and start implementing a fertilizing schedule.
5. Maturing Stage
The final stage is the maturing stage when bok choy reaches its full size and is ready for harvest. Depending on the variety, this stage can occur anywhere from 30-50 days after planting.
In the upcoming sections, we will delve deeper into each of these stages, discussing in detail the care required, potential problems to look out for, and tips to maximize growth.
Seed Germination
The first stage of the bok choy life cycle is seed germination. This is a critical phase when the seeds break dormancy and sprout. Here's what you need to know about this stage:
1. Sowing the Seeds
Bok choy seeds can be sown directly into the soil, in a container (similar to growing cucumbers in pots) or started indoors if you want to get a head start on the growing season. If you're sowing directly, space the seeds about 1 inch apart and cover them with 1/4 to 1/2 inch of soil.
If you're starting indoors, use seed trays or pots filled with a good quality potting mix. Make sure your containers have drainage holes to prevent waterlogging.
2. Ideal Conditions
Bok choy seeds prefer a soil temperature of around 45°F to 85°F (7°C to 29°C) for germination. They require a consistent supply of moisture, so keep the soil evenly moist but not waterlogged. A light layer of mulch can help maintain soil moisture.
3. Expected Germination Timeline
Depending on the soil temperature and moisture levels, bok choy seeds typically germinate within 4-7 days. You'll know germination has occurred when you see small sprouts emerging from the soil.
Remember, successful germination requires a balance of the right conditions. If your seeds are not germinating, it may be due to factors like insufficient moisture, incorrect temperature, or old seeds.
In the next section, we'll explore the seedling stage and provide tips to ensure your sprouted seeds develop into healthy young plants.
Seedling Stage
After successful germination, your bok choy enters the seedling stage. This phase involves the development of the plant's first true leaves and the establishment of its root system. Here's what you need to know to guide your bok choy through this stage:
1. Thinning Seedlings
As the seedlings emerge, you may notice that they're too close together, competing for light and nutrients. This is where thinning comes into play. When seedlings are about 2 inches tall, thin them out so that they're 6 to 10 inches apart. This will allow adequate room for each plant to grow and flourish.
2. Light Requirements
Bok choy seedlings need plenty of light to develop strong stems and leaves. Whether grown indoors or out, ensure they receive at least 3-5 hours of direct sunlight each day. If you're growing indoors, a grow light can help meet this requirement.
3. Watering and Feeding
Consistent watering is crucial at this stage. bok choy prefers moist soil, but avoid overwatering as it can lead to root diseases. When watering, aim at the base of the plants to avoid wetting the leaves, which can encourage disease.
Seedlings also benefit from regular feeding. A balanced vegetable or all-purpose fertilizer, used according to the package instructions, will provide the necessary nutrients for your young plants.
4. Monitoring for Pests and Disease
Keep an eye out for common pests like aphids, slugs, and cabbage worms. An organic insecticidal soap or introducing beneficial insects can help manage these pests. Regularly check for signs of disease, such as yellowing leaves or stunted growth.
In the following section, we'll discuss the growth stage, where your bok choy plants will focus on developing their leafy greens.
Growth Stage
Once the seedlings have developed a set of true leaves, they transition into the growth stage. This is a period of rapid development, where the bok choy plants will start to form their characteristic rosette of leafy greens. Here's what you should focus on during this stage:
1. Fertilization
To support their rapid growth, bok choy plants require a consistent supply of nutrients, particularly nitrogen to boost leaf production. An all-purpose vegetable fertilizer or a high-nitrogen organic alternative like fish emulsion or composted manure can be used. Remember to follow the manufacturer's instructions to prevent over-fertilization.
2. Watering
Continued regular watering is crucial during this stage to support growth and prevent bolting, a condition where the plant prematurely transitions to flowering and seed production, often due to stress from heat or drought. Aim to keep the soil evenly moist, using mulch to help conserve moisture and suppress weeds.
3. Pest and Disease Control
As the plants grow and fill out, they may become more attractive to pests like aphids, cabbage worms, and slugs. Continue monitoring for any signs of pests and deal with them promptly to prevent them from impacting plant growth. Also, keep an eye out for diseases like black rot and clubroot, which are common in brassica plants.
4. Position and Spacing
Ensure that your bok choy plants have sufficient space to grow. Overcrowding can lead to poor air circulation, which increases the risk of disease. If necessary, consider re-spacing your plants to allow for adequate growth.
In the following section, we'll move into the final stage of the bok choy life cycle - the maturing stage, where your plants reach their full size and are ready for harvesting.
Maturing Stage
As your bok choy plants progress through their life cycle, they will eventually reach the maturing stage. This is the final stage of growth, when the plants reach their full size and the delicious, crunchy leaves are ready for harvest. Here are some important tips for this stage:
1. When to Harvest
Bok choy is a fast-growing vegetable. Depending on the variety, you can expect to start harvesting anywhere from 30-50 days after planting. The plants are mature when they have formed a compact, rosette-shaped bunch of leaves.
2. How to Harvest
Harvesting bok choy is straightforward. Simply cut the entire plant at soil level, or harvest only the outer leaves to allow the plant to continue growing. Harvest in the morning when the leaves are crisp and filled with moisture.
3. Post-Harvest Care
After harvesting, rinse the bok choy leaves thoroughly to remove any soil or pests. If you're not using them immediately, store the leaves in a plastic bag in the refrigerator's crisper drawer where they can last for about a week.
4. Succession Planting
To ensure a continuous supply of bok choy, consider succession planting. This involves planting new seeds every two weeks during the growing season. By the time the first plants have been harvested, the next plants will be ready to take their place.
In the final section of this guide, we'll summarize the key points and provide some additional tips for growing bok choy successfully.
Maximizing Your bok choy Growth
Now that you're familiar with each stage of the bok choy growth cycle, let's discuss how you can maximize your bok choy yield.
1. Choose the Right Variety
Different varieties of bok choy mature at different rates and have varying tolerance to heat and cold. Choose a variety that suits your climate and your needs. Some popular varieties include 'Joi Choi', 'Black Summer', and 'White Stem'.
2. Provide Optimal Growing Conditions
Bok choy prefers cool weather and a sunny location. It does best in rich, well-draining soil with a pH between 6.0 and 7.5. For the best yield, ensure your plants receive 3-5 hours of sunlight daily.
3. Practice Succession Planting
To have a continuous supply of bok choy throughout the growing season, practice succession planting. This involves sowing new seeds every two weeks. This way, as you harvest mature plants, new ones will be ready to take their place.
4. Use Organic Fertilizers
Bok choy is a heavy feeder. To boost your yield, provide your plants with a balanced organic fertilizer. Fish emulsion, compost, and well-rotted manure are great options.
5. Control Pests and Diseases
Regularly check your plants for pests and diseases. Aphids, cabbage worms, and flea beetles can harm your bok choy. Diseases like clubroot and black rot can also decrease your yield. Use organic methods to control these issues.
6. Harvest Correctly
Finally, knowing when and how to harvest your bok choy will impact your yield. You can start harvesting as soon as the plants have formed their characteristic rosette of leaves. Harvest in the morning when the leaves are most crisp and filled with moisture.
By following these tips, you can maximize the growth and yield of your bok choy plants. Happy gardening!
Cooking and Storing Your Harvest
After you've successfully navigated the bok choy growing stages and harvested your crop, the next step is to prepare your fresh bok choy for eating or storing.
1. Cooking bok choy
Bok choy is a versatile vegetable that can be used in a wide range of dishes. It can be sautéed, stir-fried, steamed, or eaten raw in salads. The leaves are tender and have a mild flavor, while the stems are crunchy and slightly sweet.
Here's a simple recipe to get you started:
- Heat 1 tablespoon of oil in a wok or large frying pan.
- Add 2 cloves of minced garlic and sauté until fragrant.
- Add the bok choy, a splash of soy sauce, and stir-fry for a few minutes until the leaves are wilted and the stems are tender-crisp.
- Finish with a sprinkle of sesame seeds and a squeeze of fresh lemon juice.
2. Storing bok choy
Freshly harvested bok choy can be stored in the refrigerator for up to a week. To store, rinse the leaves thoroughly, pat them dry, and place them in a plastic bag in the crisper drawer. Avoid washing the bok choy until you're ready to use it, as excess moisture can cause it to spoil faster.
3. Preserving bok choy
If you have a large harvest and can't consume all the bok choy before it spoils, consider preserving it. One way to do this is by blanching and freezing the leaves. Another method is to pickle the stems, creating a tasty condiment that can be enjoyed for months.
By learning how to cook and store your bok choy, you can enjoy the fruits of your labor long after the growing season has ended.
Conclusion
In this comprehensive guide, we've explored the various bok choy growing stages, from germination to maturity, providing you with essential knowledge and practical tips to help you successfully cultivate this nutritious leafy green in your own garden.
Remember, each stage of the growth process has its unique requirements, from watering and sunlight to pest management. Understanding these stages and what each one demands is key to yielding a healthy and bountiful harvest.
Growing bok choy can be an immensely rewarding experience, not only providing you with a sense of accomplishment but also fresh, homegrown vegetables that can enhance a variety of dishes. Plus, by knowing how to store and preserve your bok choy, you can enjoy your harvest for weeks or even months after.
In the world of gardening, there's always something new to learn and plenty of opportunities to enhance your skills. Whether you're a beginner or an experienced gardener, we hope this guide on bok choy growing stages proves to be a useful resource in your gardening journey. Keep on growing!